How to Embed your OneAI Agent on a SharePoint Website
Want to embed a OneAI GPT agent on your SharePoint site to boost productivity? Here's how to do it:

In today's digital landscape, enhancing user engagement and optimizing customer service on your website has never been more crucial. With the power of AI, you can now elevate your website's interaction to a whole new level. Imagine having an AI agent that not only understands your brand's essence but also interacts with your visitors in real-time, providing them with a personalized experience. This comprehensive guide will walk you through the seamless process of creating, customizing, and activating a SharePoint GPT agent for your website.
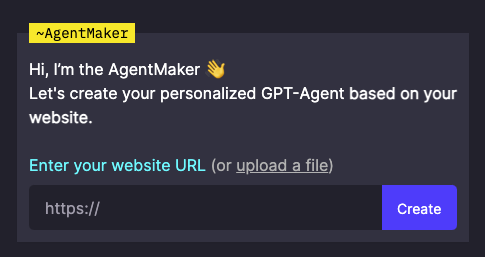
1. Create Your Agent
Start by visiting the AgentMaker. Here, you'll need to upload the URL of your website. A new agent will be created and will automatically learn the content of your website.
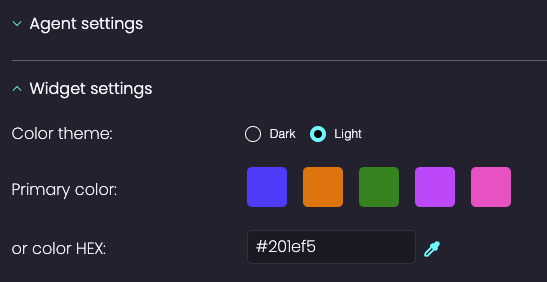
2. Personalize Your Agent
Next, personalize your agent to align with your brand. Head over to the Agent Studio to customize aspects like logo, brand colors, tone of voice, as well as the agent's behavior and goals. You also can manage the agent’s knowledge and add more content, including documents, videos, and custom responses.
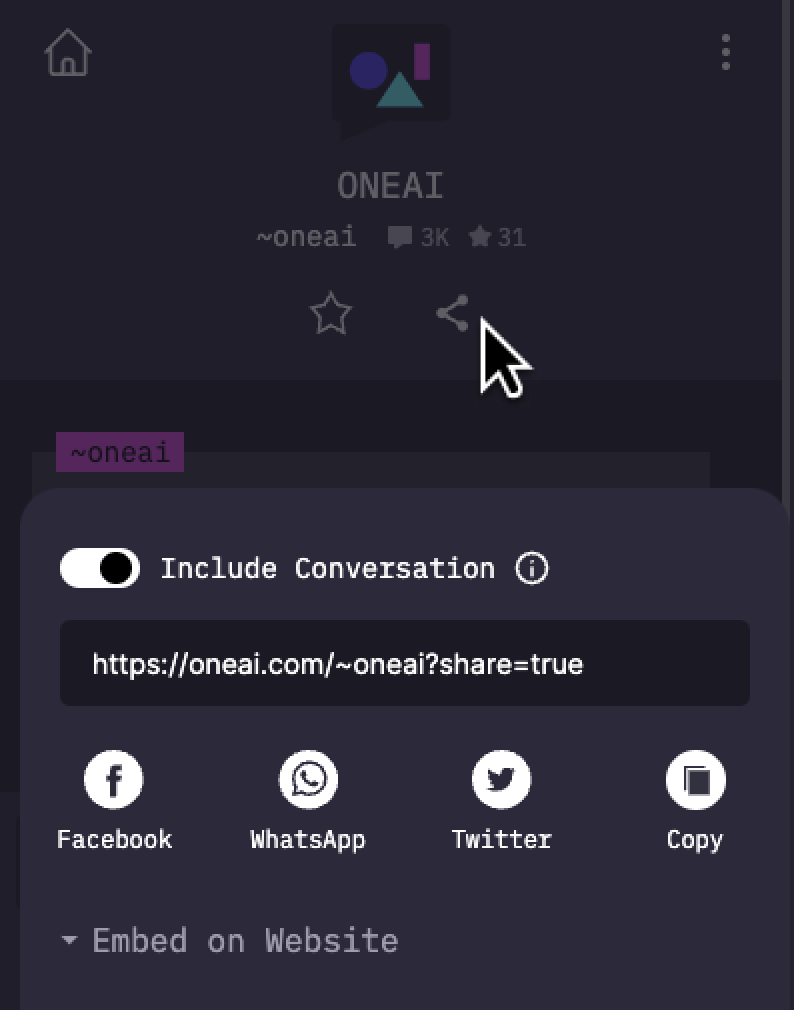
3. Get your Agents Public Name
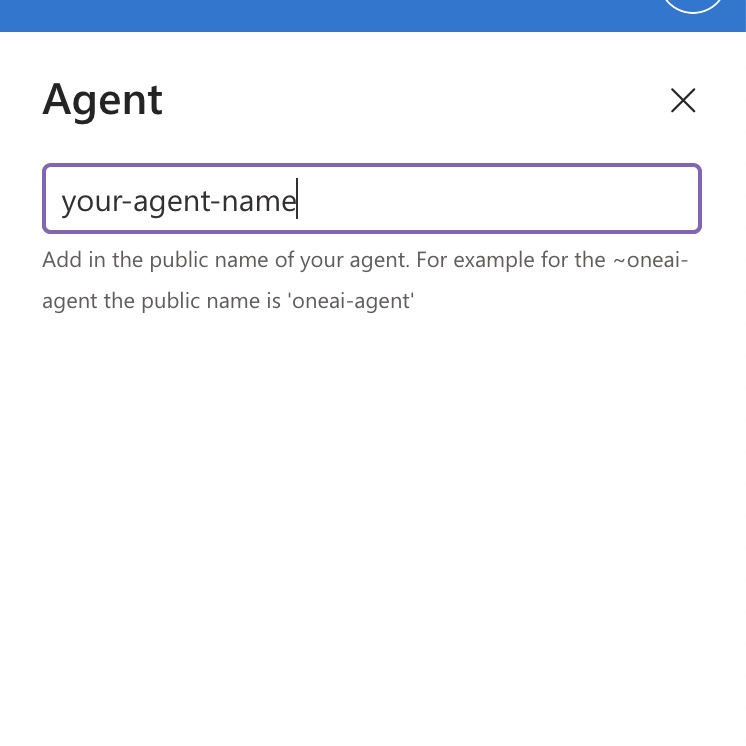
Once your agent is ready and personalized, click the 'Share' button on your agent's page. Copy the Public Name of the agent (Its the text between the ~ and ? in the agent share link)
4. Download the Sharepoint Solution Package
This can be done by visiting the provided link and downloading the .sppkg file for Sharepoint.
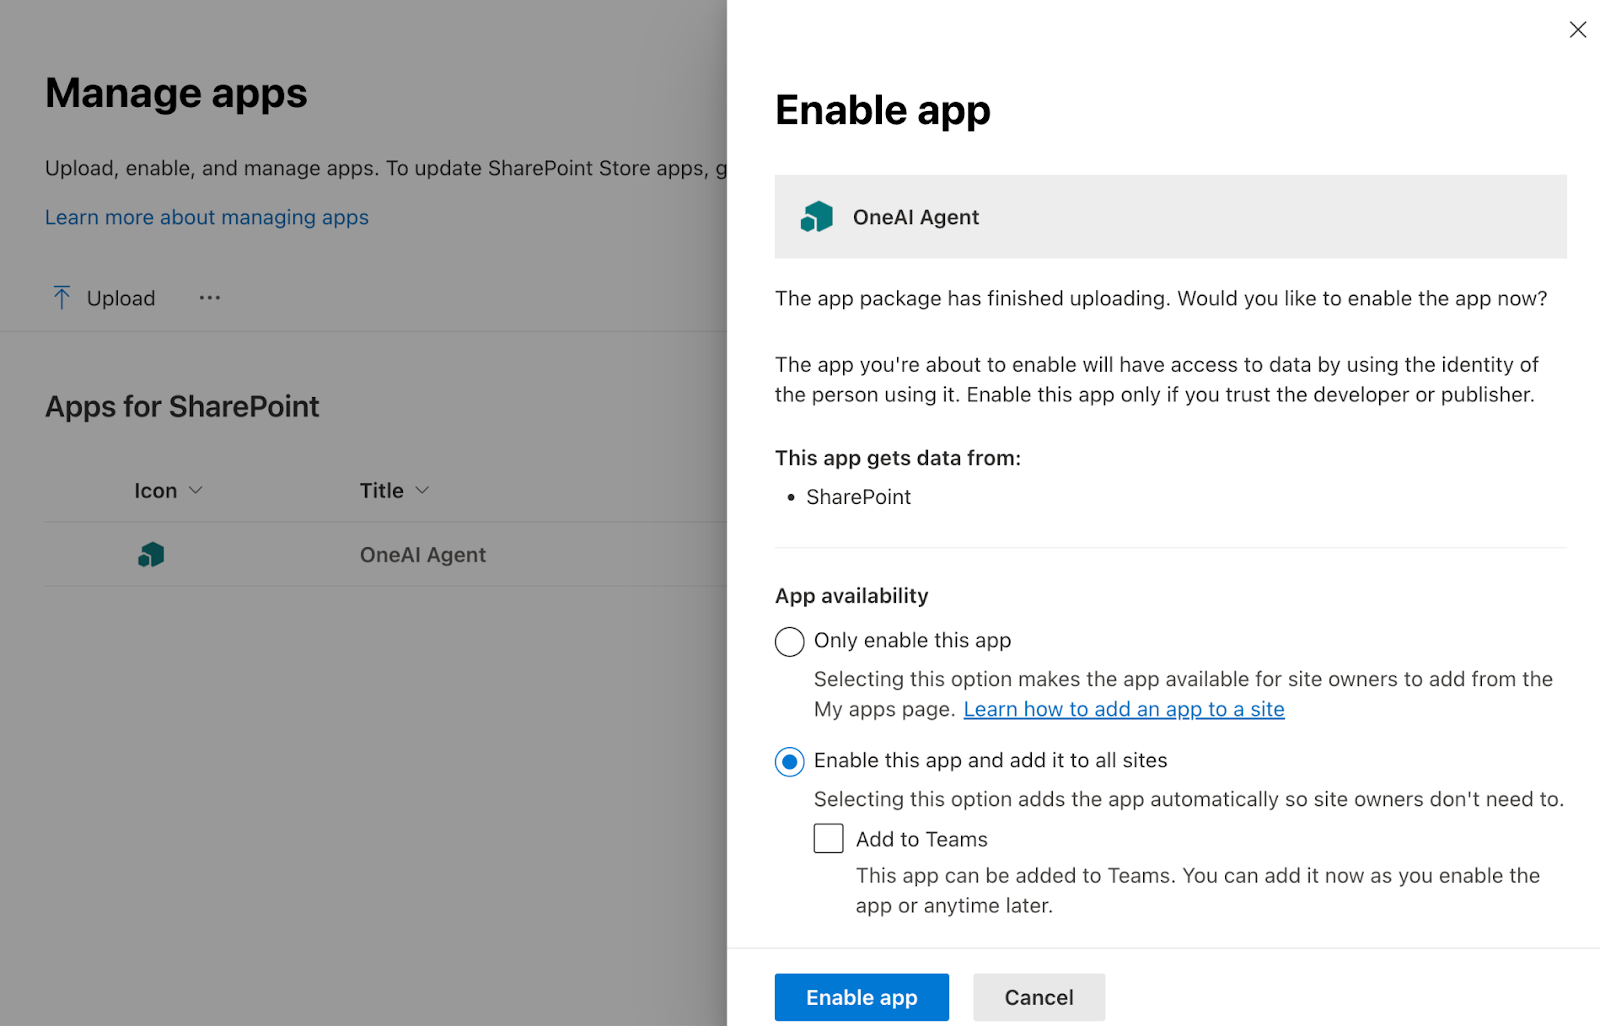
5. Install Plugin in Sharepoint Apps
Go to Sharepoint Admin Center editor and select “More Features” → “Apps” → "Open" to get to the Manage Apps page than upload the share point app and enable it.
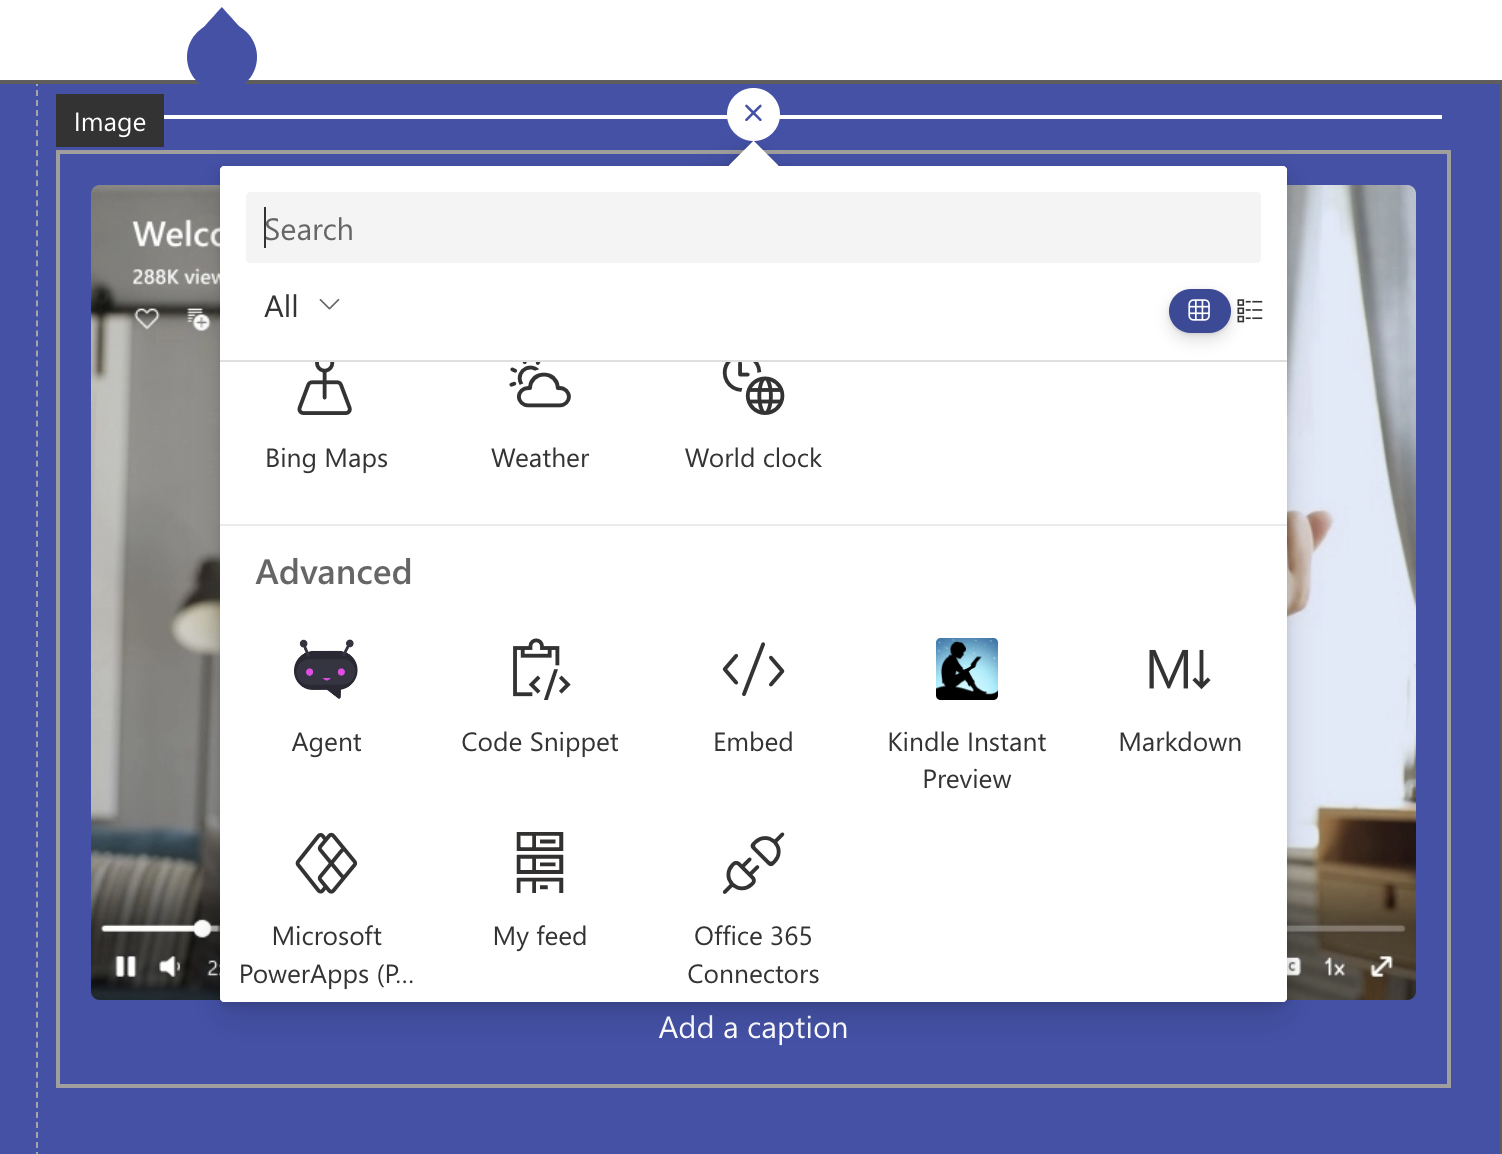
6. Add the Web Part to Your site
Go to the advanced section of the web parts menu and choose the agent web part.
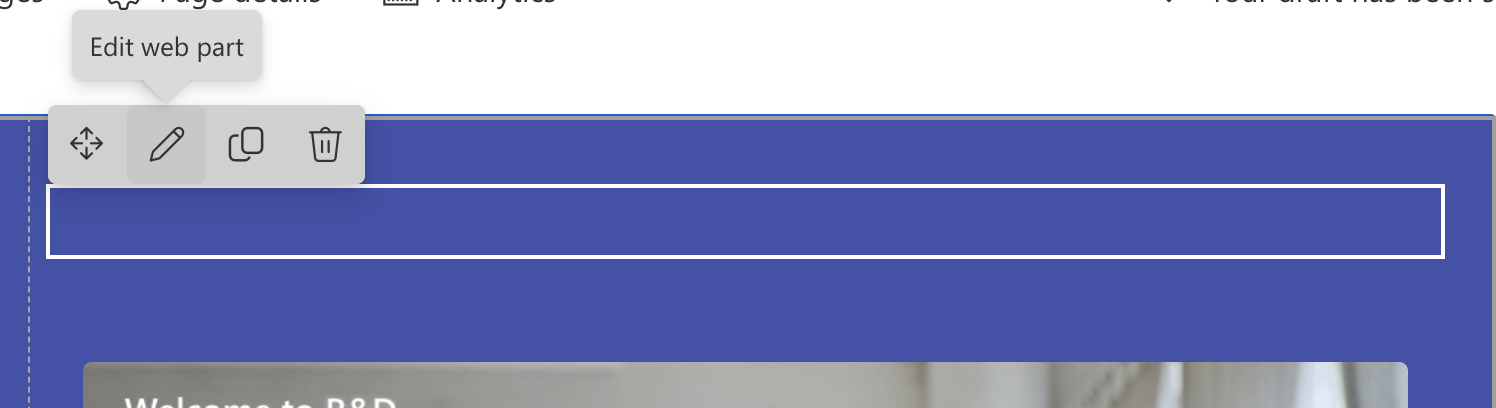
7. Edit the Web Part to Configure Your Agent
8. Add your Agents Public Name in the Side Panel
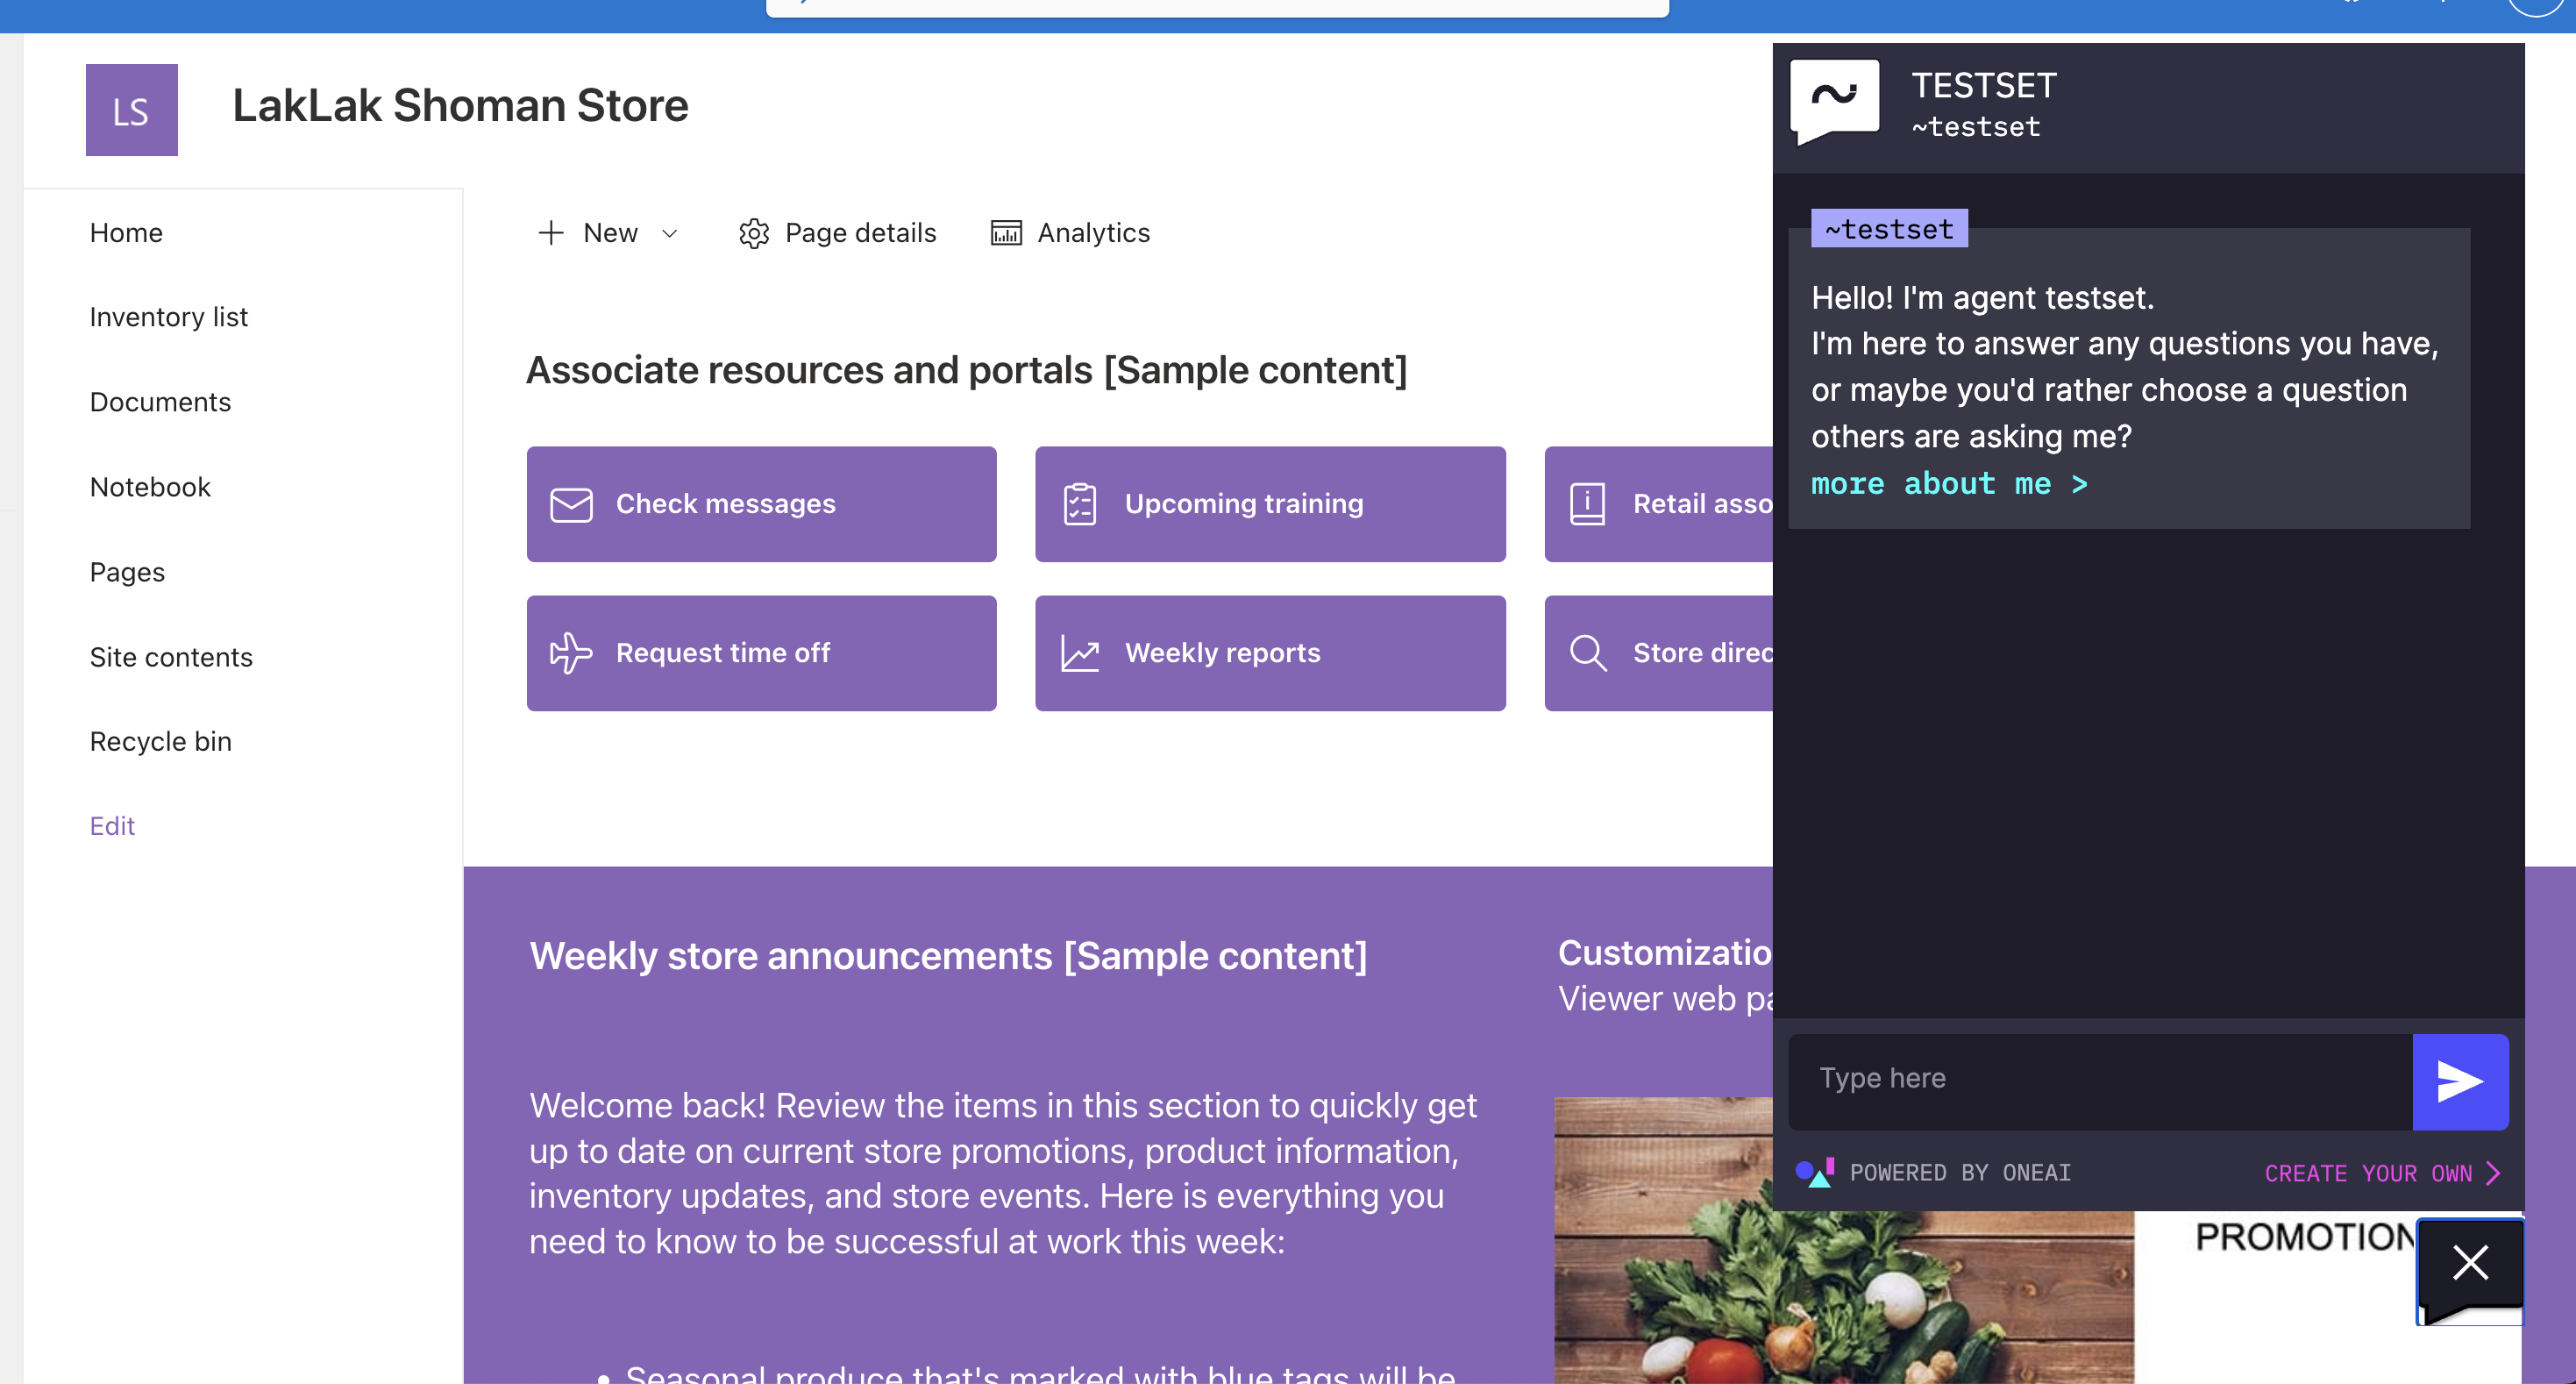
9. Republish and Refrash Your Page to See Your Agent
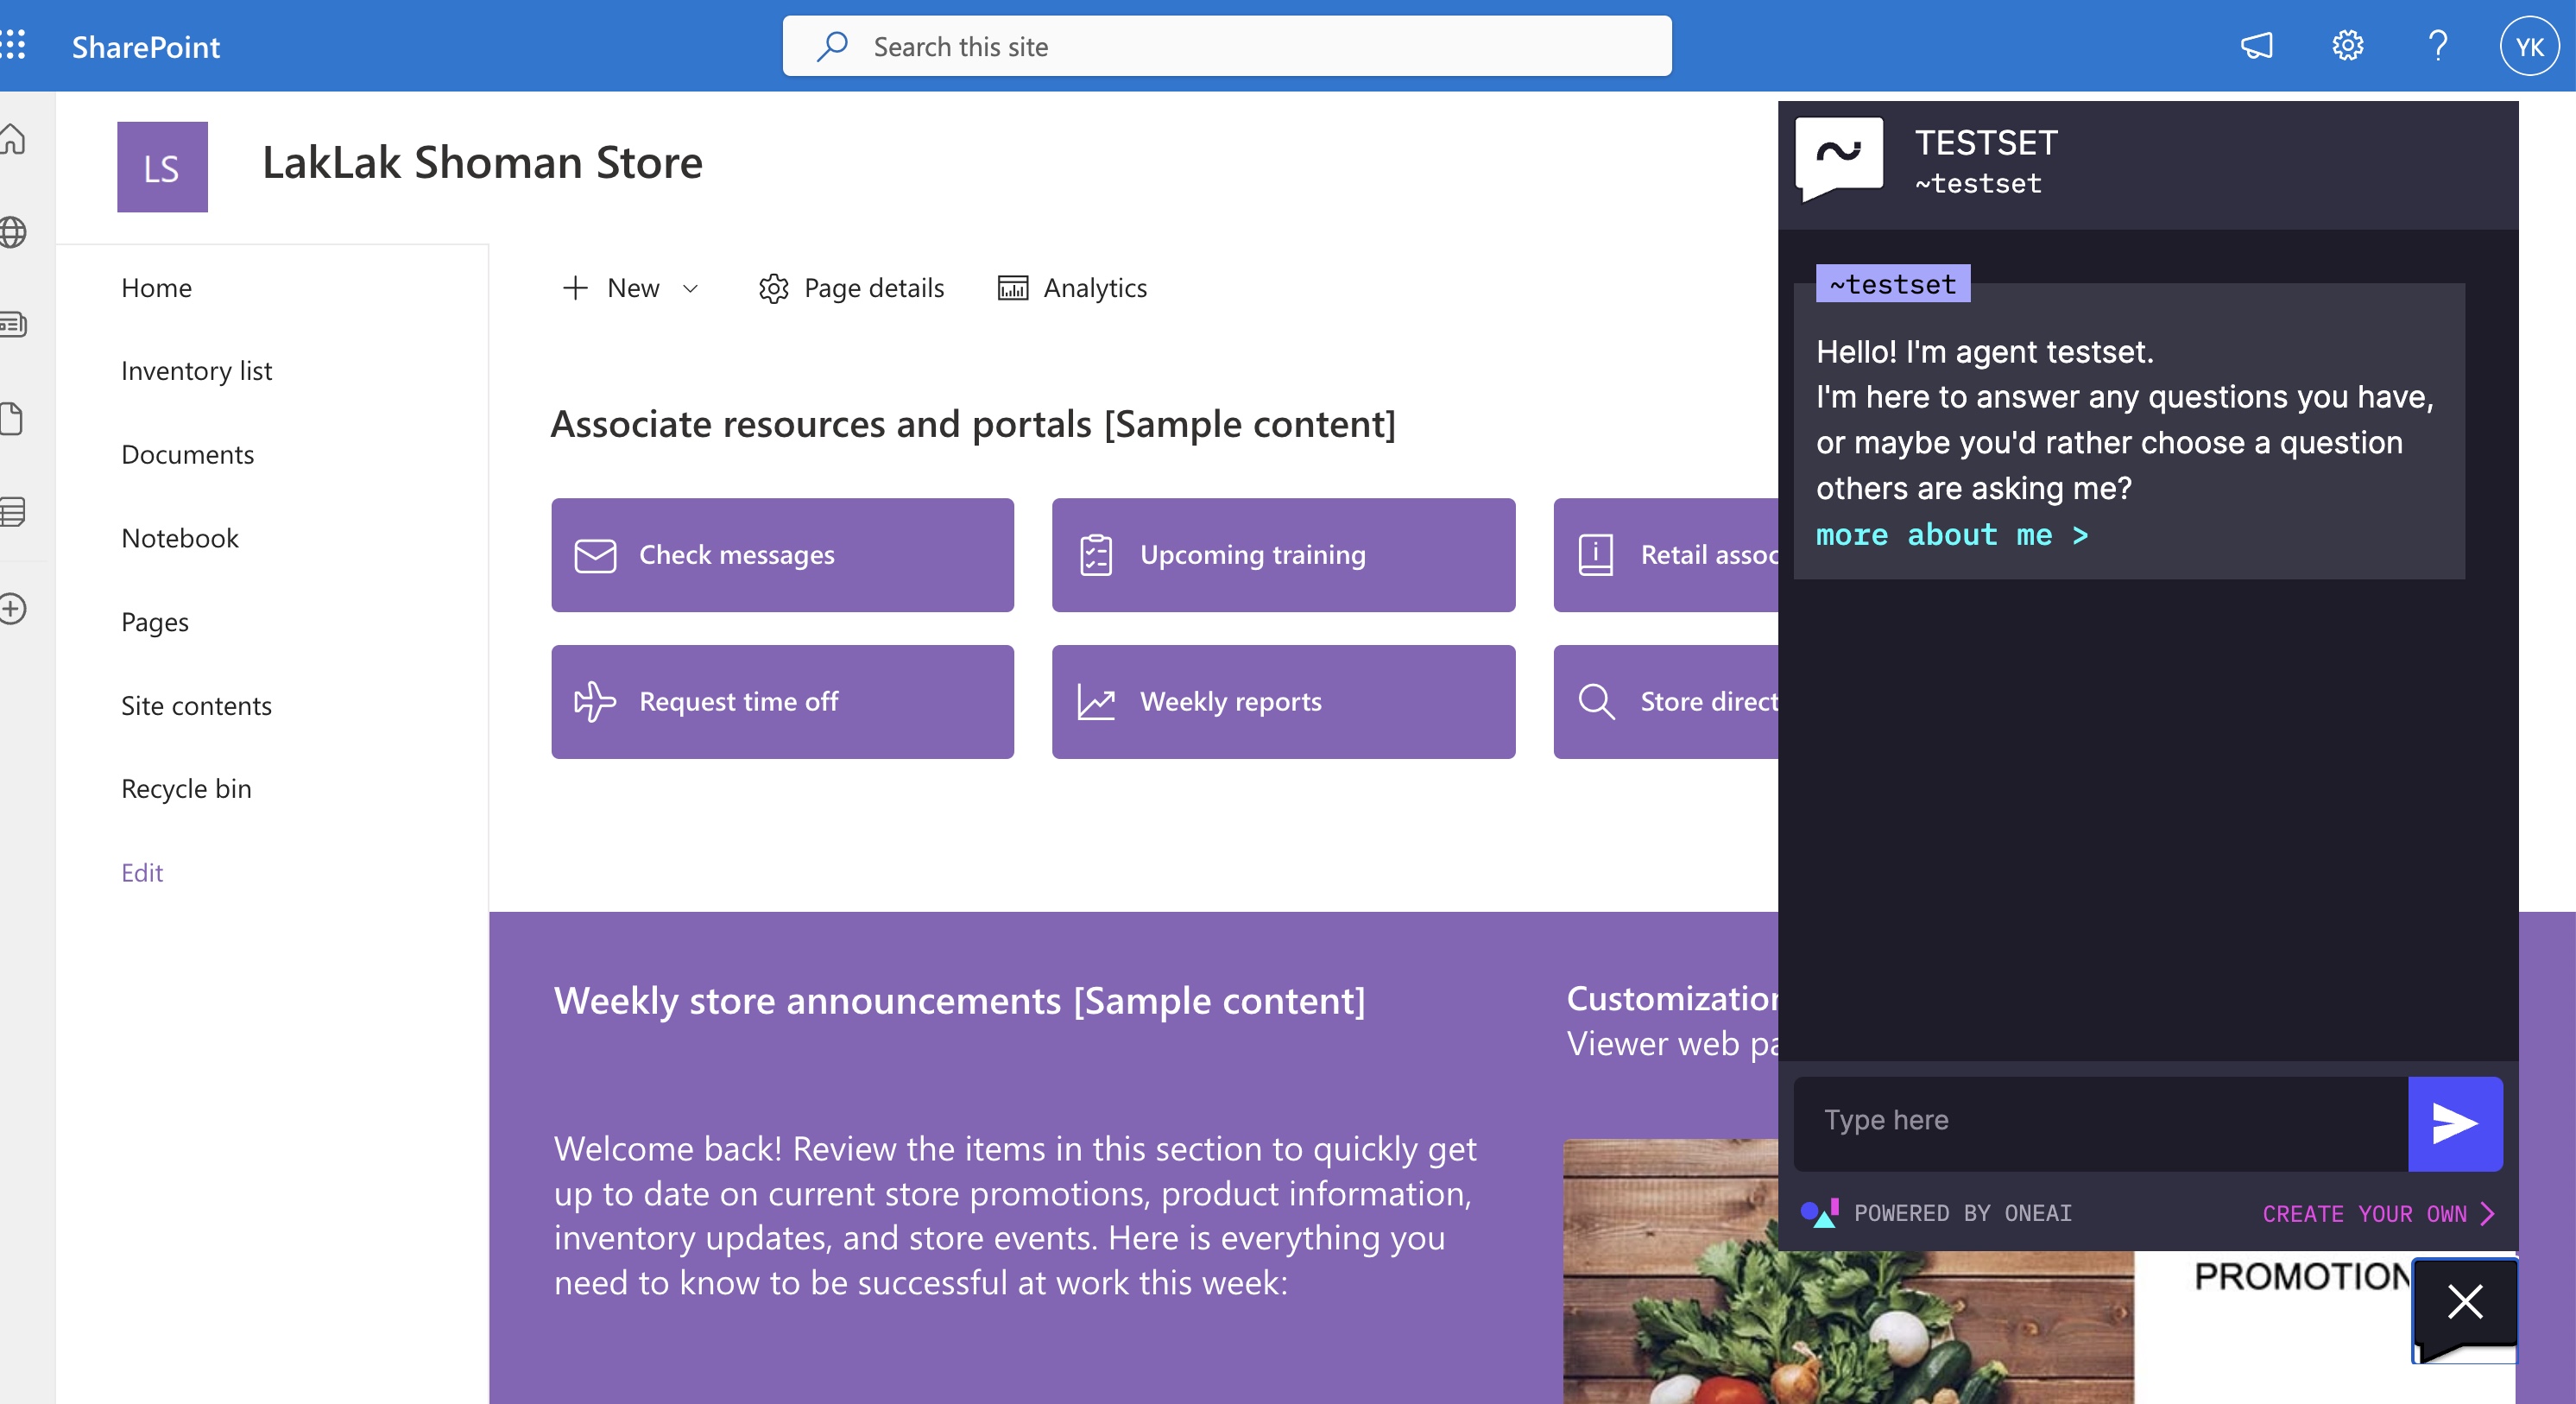
And that’s it! Your Sharepoint GPT agent is now active on your website. You can always return to the Agent Studio to make further modifications to your agent or to view conversation analytics, giving you insights into the interactions between your website's users and the AI agent.