How to Embed your OneAI Agent
Want to use your OneAI agent to boost engagement on your website? Embedding an agent is straightforward and can be accomplished in a couple of minutes. Here’s your quick guide:

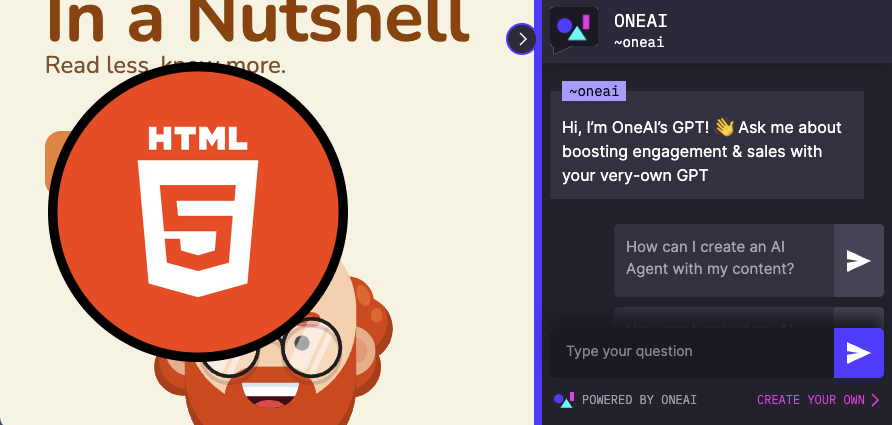
{{cta}}
Own a WordPress website? No need to embed manually, we have a WordPress plugin! Check out this guide.
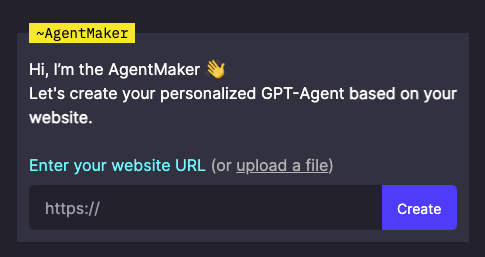
1. Create Your Agent
Begin by visiting the AgentMaker. Upload the URL of your website, and an agent will be created and automatically will learn your website's content.
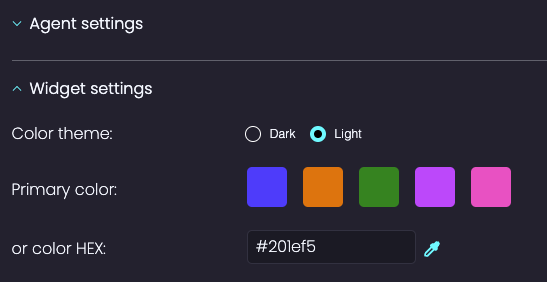
2. Personalize Your Agent
Customize your agent to match your brand. Visit the Agent Studio to adjust the logo, brand colors, tone of voice, as well as the agent’s persona, behavior and goals. You can also enrich the agent's knowledge with additional content like documents and videos.
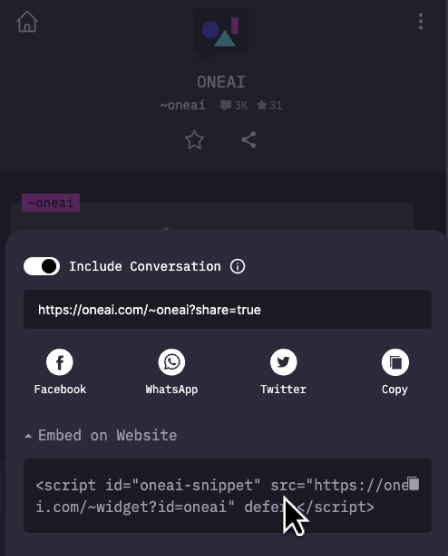
3. Get the Embed Script
Once your agent is ready, on the agent’s page, click “Share” → “Embed on Website”. Click the generated `<script>` tag to copy it. Alternatively, in the Agent Studio, click "Embed on Website" and copy the `<script>` tag.
4. Embed your agent
Paste the copied `<script>` tag into the `<head>` section of your website's HTML, on every path where you want the agent to appear.

You’re done! The OneAI agent is now ready and active on your website. You can always return to the Agent Studio for further customizations or to view conversation analytics, providing insights into the interactions between your website's users and the AI agent.


